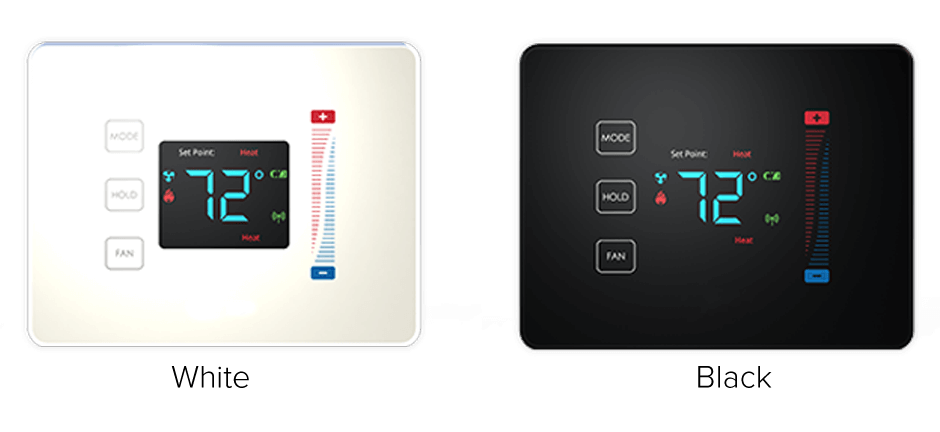
Centralite Pearl Zigbee Thermostat

Controlling your thremostat shouldn’t be difficult. The Pearl Zigbee thermostat is now discontinued and can be obtained from sites such as Ebay for around 30 USD. In a nutshell don’t buy the Centralite Pearl Zigbee Thermostat. Reason: It randomly disconnects from the Zigbee Network and refuses to rejoin uness you press a number of very cryptic things on the display to get it working again. Not family friendly….


How to enter thermostat Programming Mode. The thermostat needs to be in an “off” state. To turn the thermostat off, press the “Mode” button until “Off” appears on the screen. Once in the off state, PRESS BETWEEN the hold button and the fan button. Continue to hold and swipe down on the right slider – “01” will display

• When “01” is displayed, it indicates you are in “programming mode.”

• Use the + and – buttons to advance through the menu options listed below in the “MenuOptions” list.
• Use the HOLD button to enter a menu option then use the + and – to set the appropriate value and then HOLD to confirm you menu choice (HOLD is used like the ENTER key)

• *Note, utilizing the MODE button will exit you from the menu*

• When finished programming, tap the MODE button until the thermostat to EXIT the menu and returned to normal operation – programming mode has been exited.

**Menu Options**

1 - Display Celsius and Fahrenheit
0- Celsius
1- Fahrenheit (Default)

2 - Heat type (Heat pump / Non Heat pump)
0- Non Heat pump(Default)
1- Heat pump

3 - Heat source (Gas / Electric)
0- Electric
1- Gas(Default)

4 - Temperature Calibration
-2.5 – +2.5 Celsius
-4.5 - +4.5 Fahrenheit
(Default) - 0

5 - Set Minimum Heatpoint
(Default) – 44 Fahrenheit, 7 Celsius

6 - Set Maximum Heatpoint
(Default) – 86 Fahrenheit, 30 Celsius

7 - Set Minimum Coolpoint
(Default) – 44 Fahrenheit, 7 Celsius

8 - Set Maximum Coolpoint
(Default) – 86 Fahrenheit, 30 Celsius

9 - Set Minimum Deadband
(Default) – 1.8 Fahrenheit, 1.0 Celsius

11 - EZ Mode
11- Yes
All others - No

12 - Join Network
0- No
1- Yes

13 - Leave Network
11- Yes
All others - No

14 - Rejoin Network
0- No
1- Yes

15 - Redetect System Type
0- No
1- Yes

**Types Detected**

04 - HP TWO COOL TWO HEAT
05 - TWO COOL TWO HEAT
FF - INVALID RELAY CONFIGURATION

16 - Reset

0- No
1- Yes

00 - Cool Only
01 - Cool with reheat
02 - Heat Only
03 - Heat with reheat
04 - Full Auto
05 - Full Auto with reheat (default)

17 - Factory Reset All
11- Yes
All others - No

18 - Display Configuration and Network Settings

Order of Display:

1- PSOC Version Number
2- Ember Version Number
3- Heat Type
4- Heat Source
5- Temperature Calibration
6- Relays Detected
7- Network State
8- Network Channel
9-10- PanID

19 - Reset Counter
0-
1- Reset to 0

20 - Standby Brightness Level
0-99- Brightness percentage leve
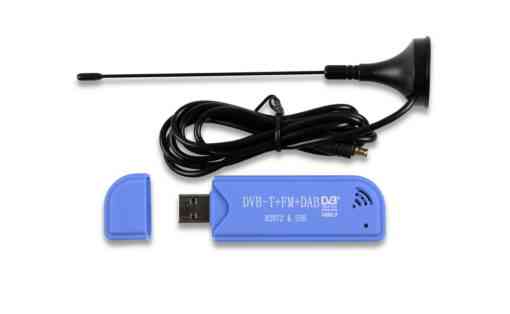
Rasperry PI RTL_SDR SUPPORT

cd ~

sudo apt-get install -y git git-core cmake libusb-1.0-0-dev
sudo apt update
sudo apt install -y build-essential
git clone git://git.osmocom.org/rtl-sdr.git
cd rtl-sdr/ && mkdir build && cd build/
cmake ../ -DINSTALL_UDEV_RULES=ON
sudo make
sudo make install
sudo ldconfig
cd ~
sudo cp ./rtl-sdr/rtl-sdr.rules /etc/udev/rules.d/


# create file
no-rtl.conf

sudo nano /etc/modprobe.d/no-rtl.conf


# add these three
lines

blacklist
dvb_usb_rtl28xxublacklist rtl2832blacklist rtl2830

sudo reboot
lsusb
rtl_test -t


Build and install
rtl_433

sudo apt-get install -y libtool libusb-1.0.0-dev librtlsdr-dev rtl-sdr doxygen
git clone https://github.com/merbanan/rtl_433.git
cd rtl_433/
mkdir build
cd build
cmake ../
make
sudo make install
rtl_433 -f 344975000 -R 70

https://www.rtl-sdr.com/

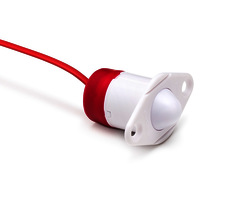
Honeywell 5800RPS Door Sensor With Home Assistant

These are commonly installed by ADT Home security Systems and are for the most part great. They have a long battery life, a reasonable range, work on RF technology. If your subscription has run out or you wish to repurpose, how do you interface these great little sensors with Home Assistant ? Read on..

https://github.com/merbanan/rtl_433


def rtl_433_probe():
"""Run a rtl_433 UDP listener."""
global exitFlag
global doorVolume

time.sleep(4) # put this here incase any code could crash the pi


jq.setVolume(doorVolume)

try:
# Create listener for incoming json string packets.
sock = socket.socket(socket.AF_INET, socket.SOCK_DGRAM, socket.IPPROTO_UDP)
sock.bind((UDP_IP, UDP_PORT))

## Connect to MQTT
mqttc = mqtt.Client()
mqttc.on_connect = mqtt_connect
mqttc.on_disconnect = mqtt_disconnect
mqttc.on_message=on_message #attach function to callback
mqttc.on_connect_fail=connect_fail_callback
mqttc.username_pw_set(MQTT_USERNAME, password=MQTT_PASSWORD)
LogEvent("connecting to " + MQTT_HOST)
mqttc.connect(MQTT_HOST, MQTT_PORT, 60)
mqttc.loop_start()


except Exception as e:
LogEvent("main loop exception %s" % (e))
time.sleep(5)
exit(1)


## Receive UDP datagrams, extract json, and publish.
while not exitFlag:
line, addr = sock.recvfrom(1024)
try:
line = parse_syslog(line)
data = json.loads(line)
publish_sensor_to_mqtt(mqttc, data, line)

except ValueError:
LogEvent("issue with json")
pass


def run():
"""Run main or daemon."""
# with daemon.DaemonContext(files_preserve=[sock]):
# detach_process=True
# uid
# gid
# working_directory
rtl_433_probe()


if __name__ == "__main__":
run()

Supervisor


pi@doorrf:/etc/supervisor/conf.d $ cat doorrf.conf
[program:doorrf]
command=python /home/pi/doorrf.py
user=pi
autostart=yes
autorestart=yes
startretries=100


pi@doorrf:/etc/supervisor/conf.d $ cat rtl_433.conf
[program:rtl_433]
command=/home/pi/rtl_433/build/src/rtl_433 -f 344975000 -R 70 -F syslog:127.0.0.1:1433
user=pi
autostart=yes
autorestart=yes
startretries=100


pi@doorrf:/etc/supervisor/conf.d $ cat squeeze.conf
[program:squeezebox]
command=/usr/bin/squeezelite-armv6hf -o sysdefault:CARD=sndrpihifiberry -s 10.0.0.36 -n doorrf
user=pi
autostart=yes
autorestart=yes
startretries=100


Install
supervisord

sudo apt-get install -y supervisor

Supervisor Commands


sudo service supervisor start

sudo
service supervisor status

sudo
service supervisor stop

sudo
service supervisor restart

Radon Gas

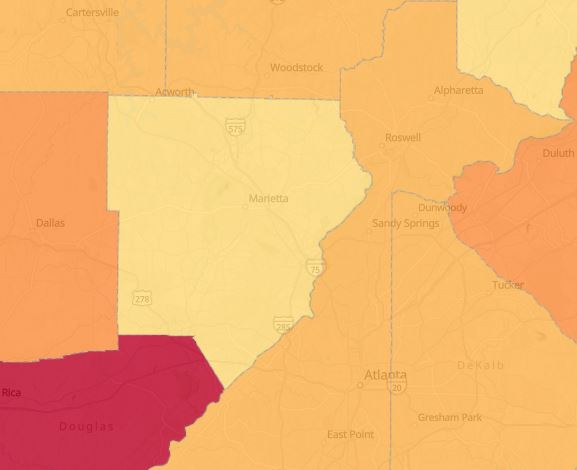
So Whats the deal ? East Cobb, Marietta, Georgia ? Surely not ….. So the general recommendation of the EPA is to take action if your levels of radon gas in your home exceed 4 pCi/L at any point. Read up here https://www.epa.gov/radon/epa-map-radon-zones. Radon levels can fluctate based on a number of environmental factors such as airflow through the house and weather conditions.

https://extension.uga.edu/programs-services/radon-testing/georgia-radon-map.html

No scare tactics here, This post is really to discuss integration of Radon sensors into your Home Assistant (HA) setup. If your house is really air tight you might have a cause for concern in East Cobb. If you have never had your home tested it’s probably prudent to do so, at least once.

Professional Testing For Radon Gas

Testing by a “pro”, if your going to pay money you expect at least:

Are certified and completed an industry recognized course showing they are capable of understanding and being compentent to carry out such tests.

Have a working, recently calibrated Radon detector with documentation they can provide you, showing when it was calibrated and by whom.

Are able to perform Radon mitigation in the event that high levels of Radon Gas are observed in the testing phase, will deduct the cost of the Radon Gas Test from the mitigation expense and provide you with an estimate of the cost of mitigation PRIOR to any testing.

Monitoring needs to be setup in your crawlspace or basement and run for a min of three days, no less.

DIY

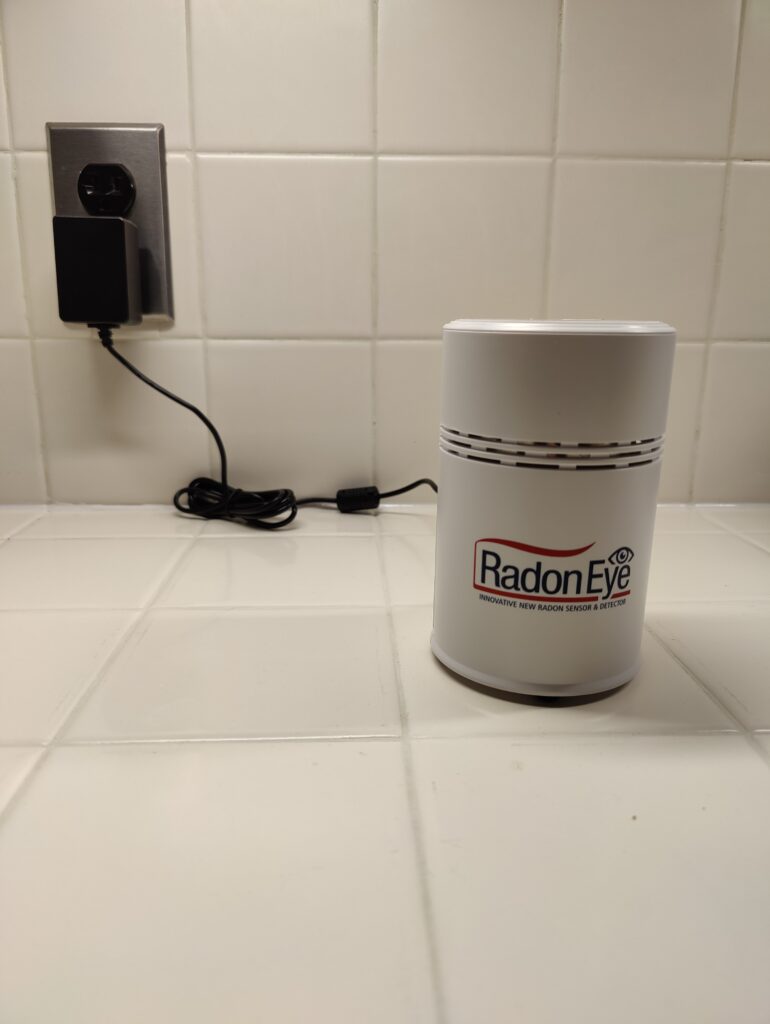
Radoneye is a product from a company that also produces equipment for pros, does not require calibration and can be purchased for the price of a professional radon test.

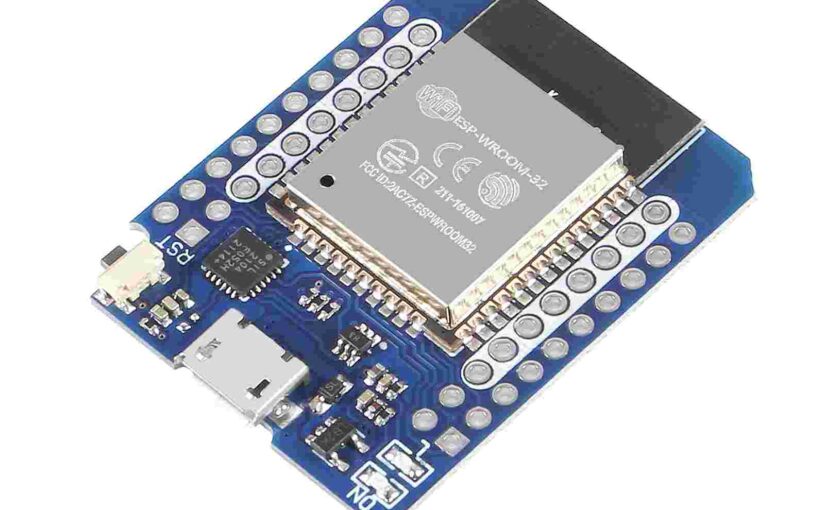
The easiest way to integrate with home assistant is using ESPHome and build a bluetooth proxy.

https://esphome.io/

Using HACS, add the Home Assistant integration rd200v2 after which you can add the ecosense radon sensors by going to Settings – Devices & Services

https://github.com/jdeath/rd200v2

As always, we provide setup, configuration and support for this type of equipment.

Here is a pretty detailed review of a couple of units

https://ryancr.wordpress.com/2020/11/28/radon-sensor-review-airthings-wave-plus-versus-radoneye-rd200/

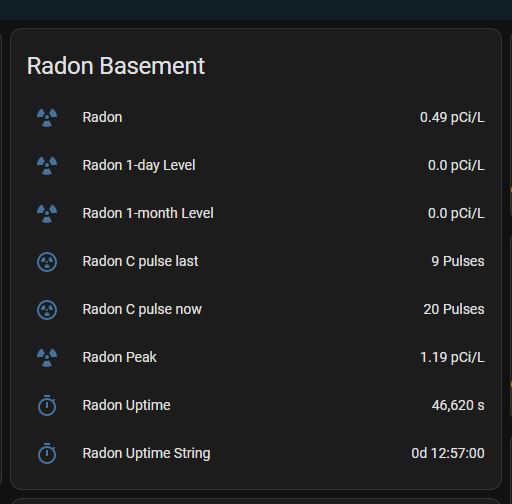
Sensor attributes available in Home Assistant from the Radon sensor

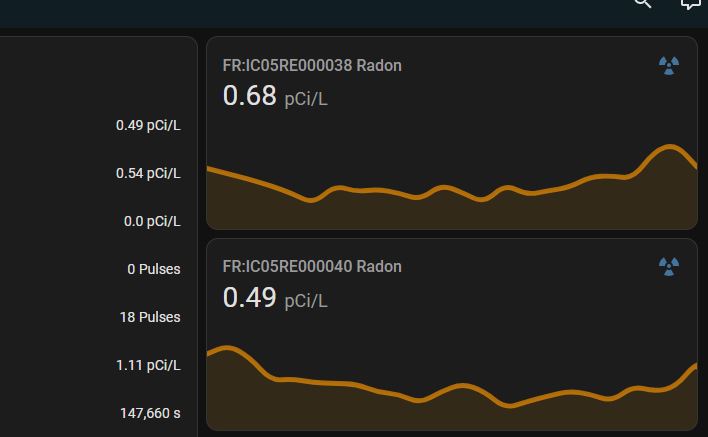
Radon readings from the radoneye sensor in a home in Cobb County GA over 3days